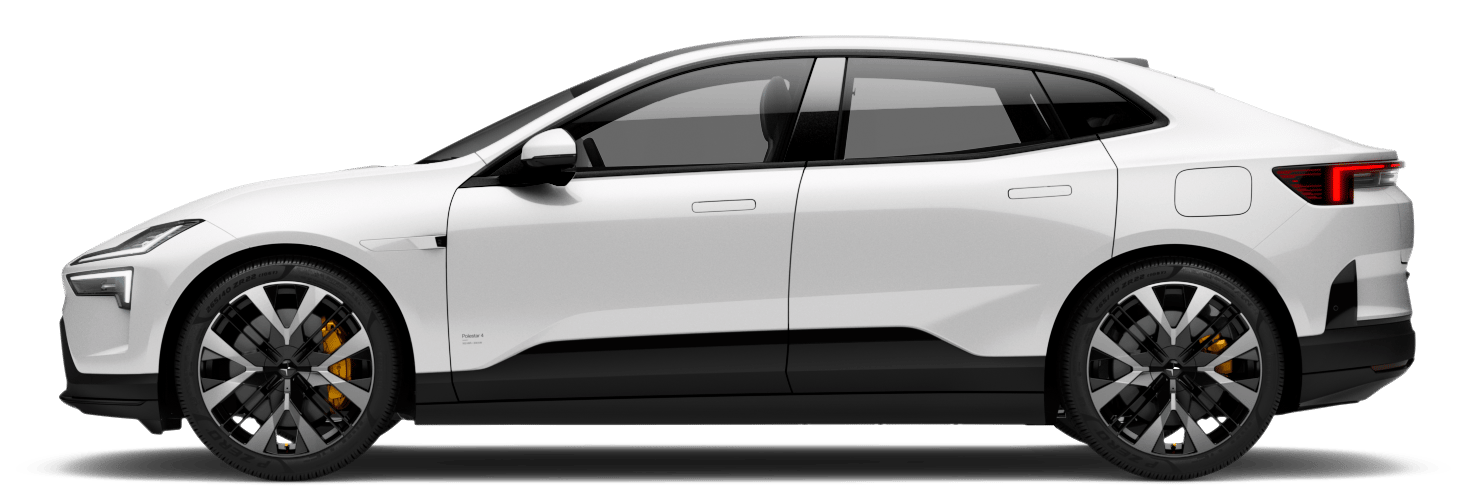
Charging electric vehicles
Charge the vehicle via a home charging station or via a public charging station.
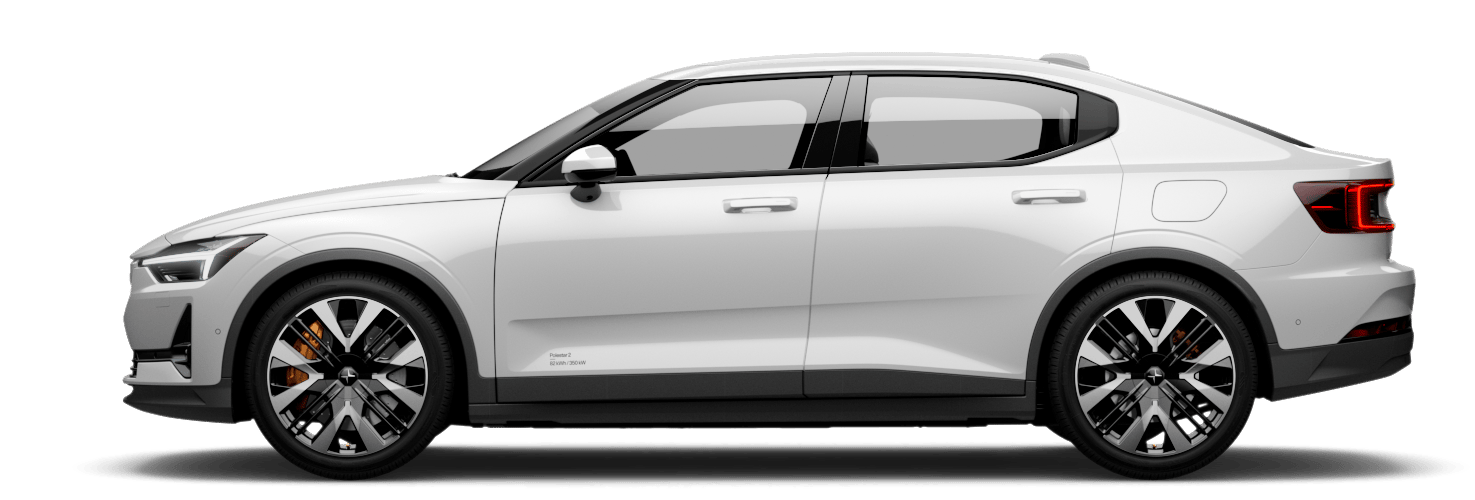
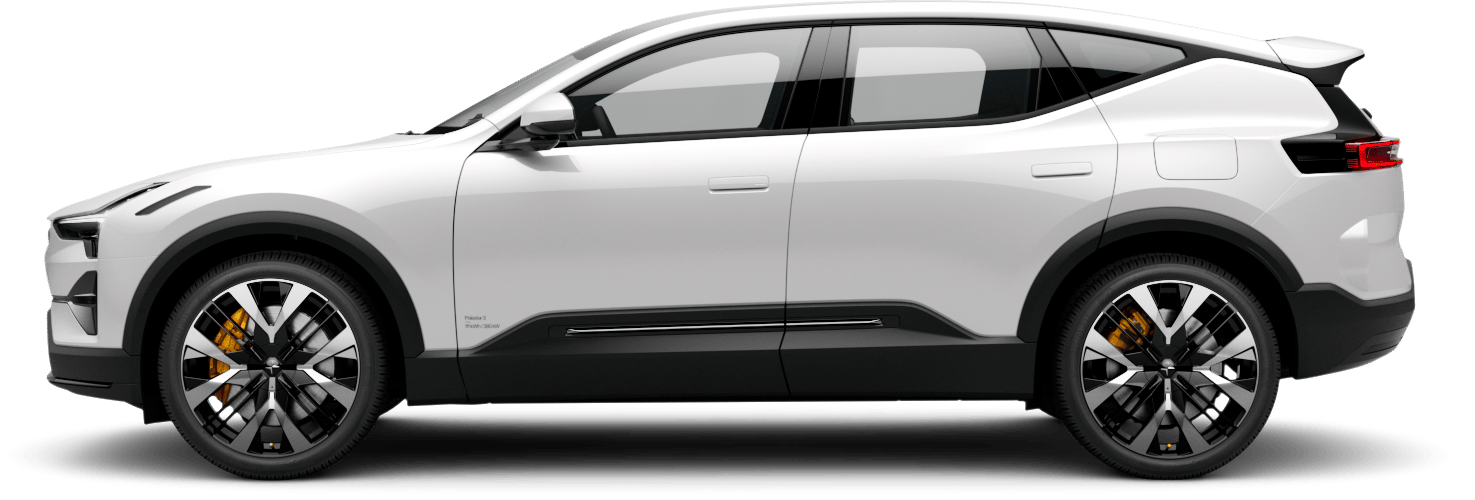
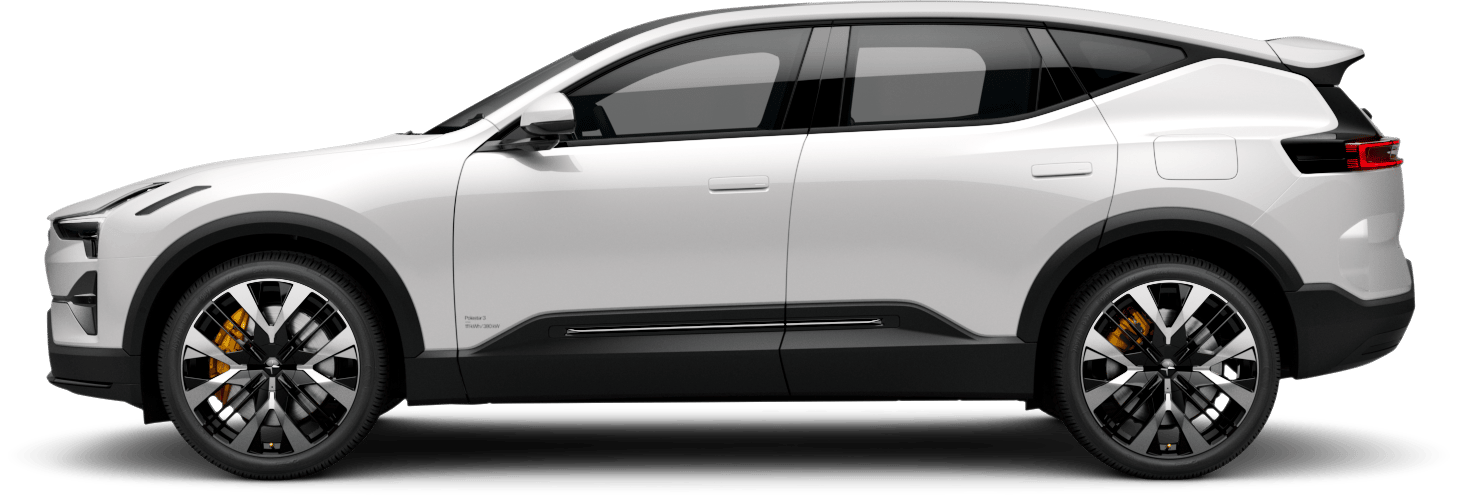
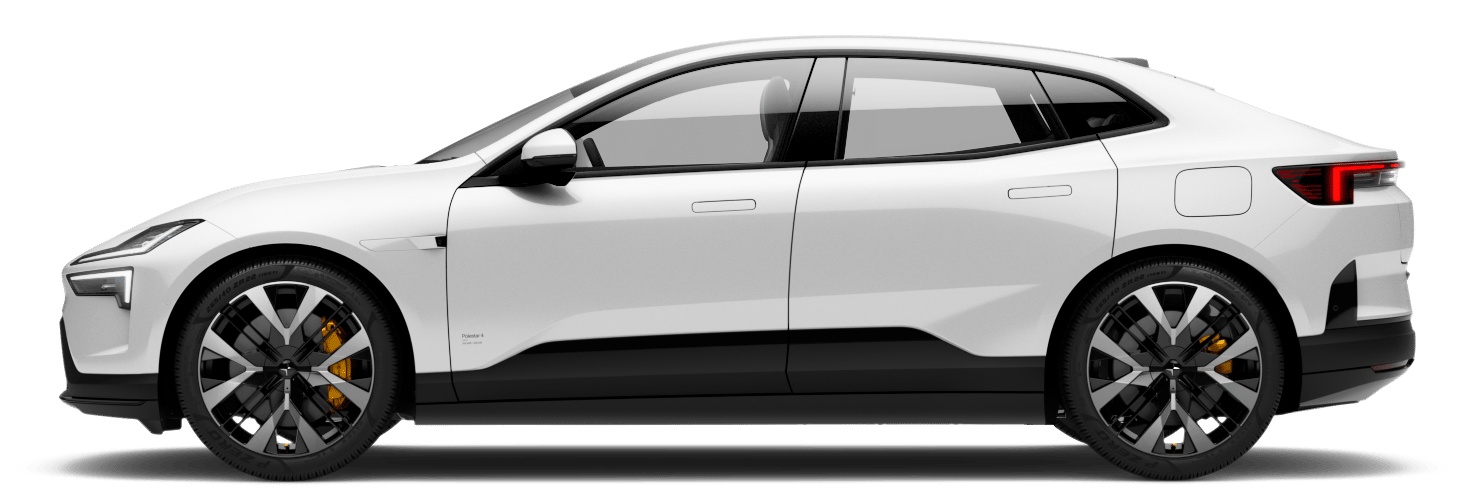
Charging socket location
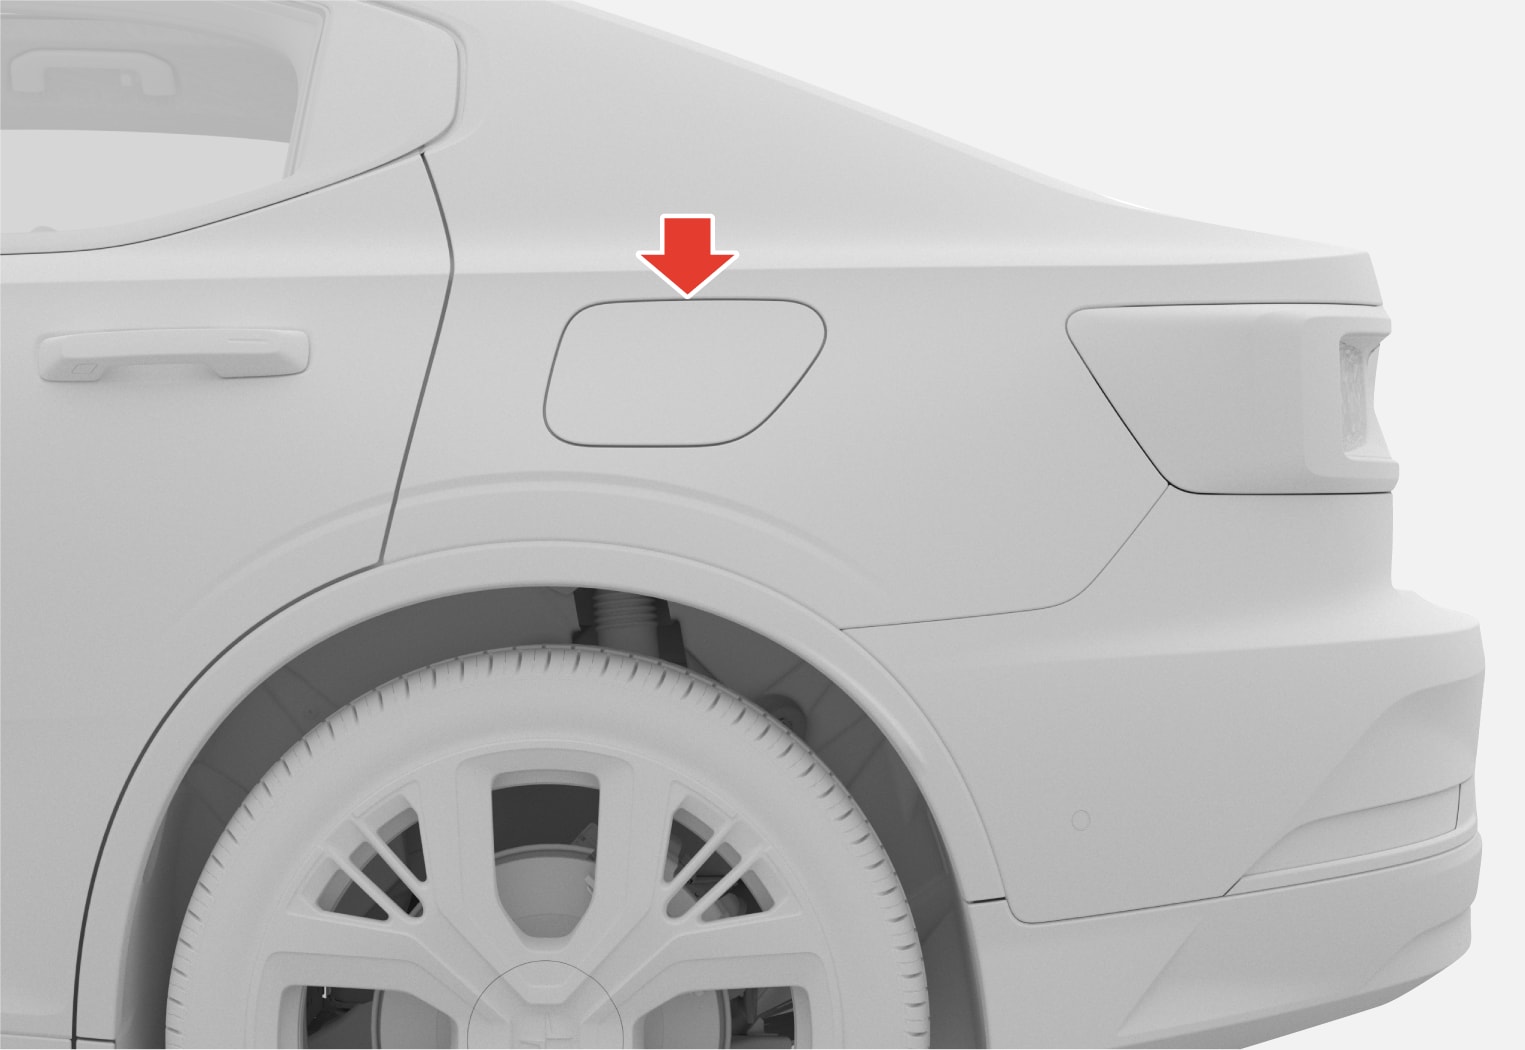
Keep the following points in mind when charging the vehicle
- Never use a damaged charging cable or charging station.
- Make sure that the charging station's socket is undamaged and free of any objects.
- Make sure the charging cable is securely connected in the socket. Significant wear on either the cable or the socket may prevent the cable from connecting properly.
- Do not touch the charging components and do not use tools to remove objects from the charging socket.
- Keep in mind that public charging stations can be exposed to more wear than private stations.
Charging via charging station (mode 3)1
Pull out the cable from the charging station's storage socket or take out the vehicle's charging cable.
Plug the charging cable into the charging station. If the charging station has a permanent charging cable, proceed to step 3.
Important
Have caution plugging in the charging cable when there is a risk of a thunderstorm or lightning strikes.
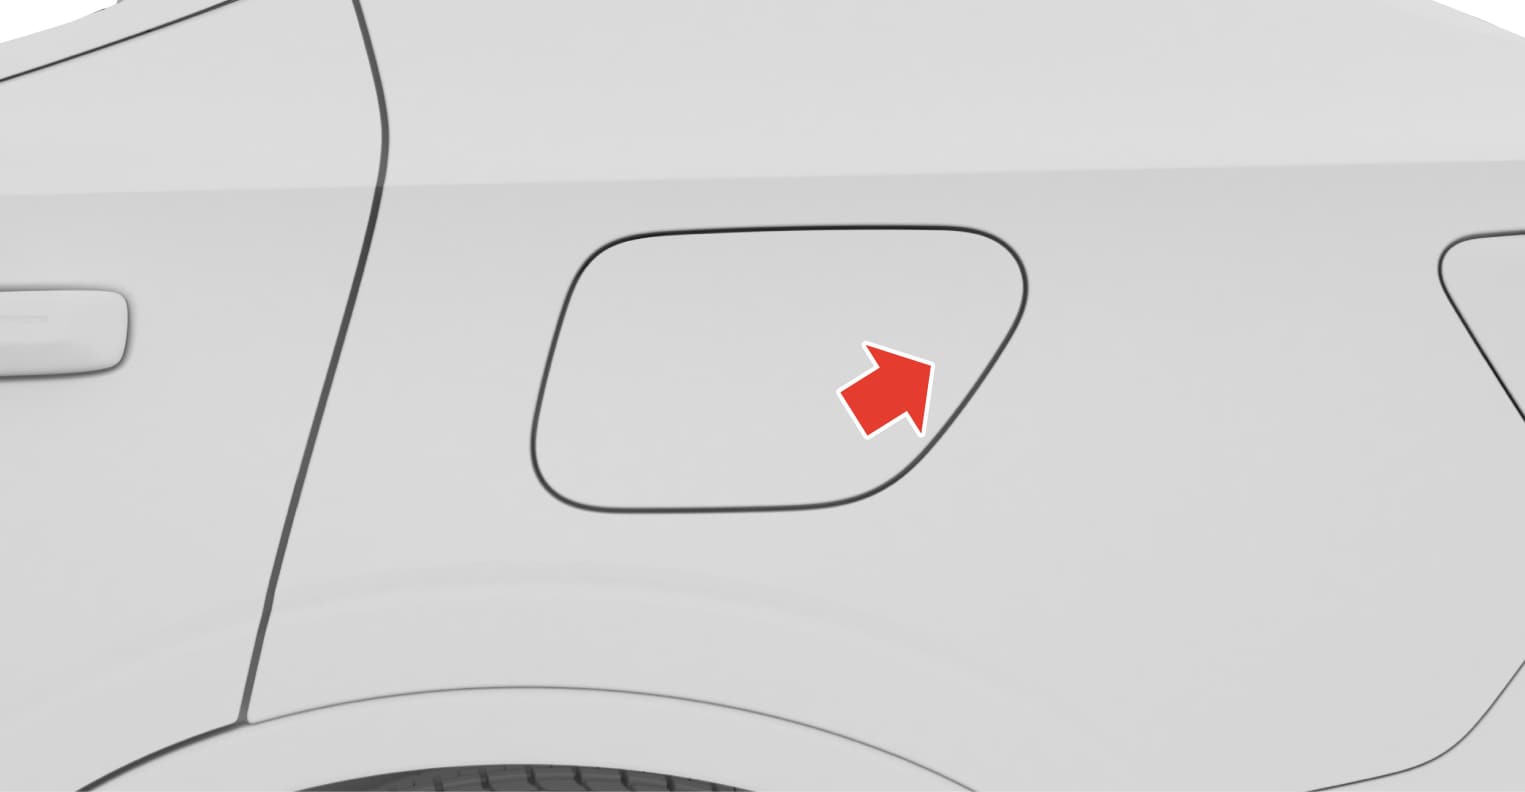
Open the charger door on the left-hand side of the vehicle by pushing in the rear part of the door.
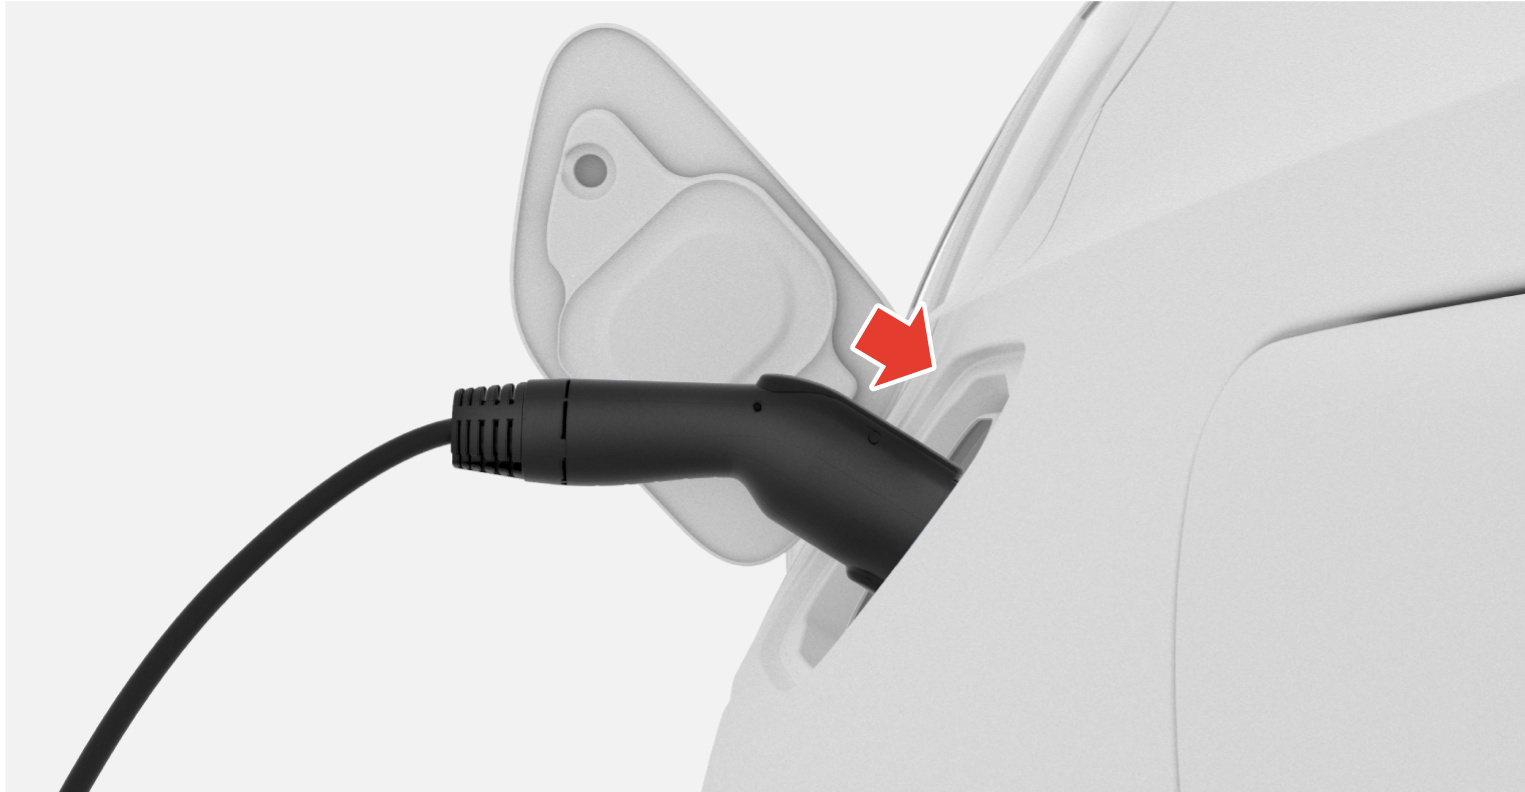
Remove the charging handle's protective cover and push the charging handle all the way into the charging socket.
Important
To prevent paintwork damage, e.g. in strong winds, position the protective cover of the charging handle so that it does not touch the vehicle.
The charging cable handle will lock into place and charging will begin within 5 seconds.
When charging begins, the LED indicator in the charging socket will flash with a green light.
The approximate remaining charging time or the charging status will be displayed in the instrument panel and the center display.
Note
Follow the instructions in the charging station's user interface to begin charging.
During charging, condensation from the air conditioning may form under the vehicle. This is because of high voltage battery cooling.
Warning
- Children should be supervised when in the vicinity of the charging cable when it is plugged in.
- High voltage is present in your electric meter housing and power distribution service panel. Contact with high voltage can cause death or serious personal injury.
- Do not use the charging cable if it is damaged in any way.A damaged or malfunctioning charging cable may only be repaired by an authorized workshop. Contact Polestar Customer Support for more information.
- Always position the charging cable so that it will not be driven over, stepped on, tripped over or otherwise damaged, or cause personal injury.
- If you need to use an adapter when charging your car, only use an adapter approved by Polestar.
Also, refer to the manufacturer's instructions for using the charging cable and its components.
Important
Do not wash the vehicle when the charging cable is plugged in or the charger door is open.
Rapid charging (direct current)
Remove the charging cable from the charging station's storage socket. Note that the ignition must be switched off completely before charging.
Open the charger door. Remove the protective hose cover for the charging socket.
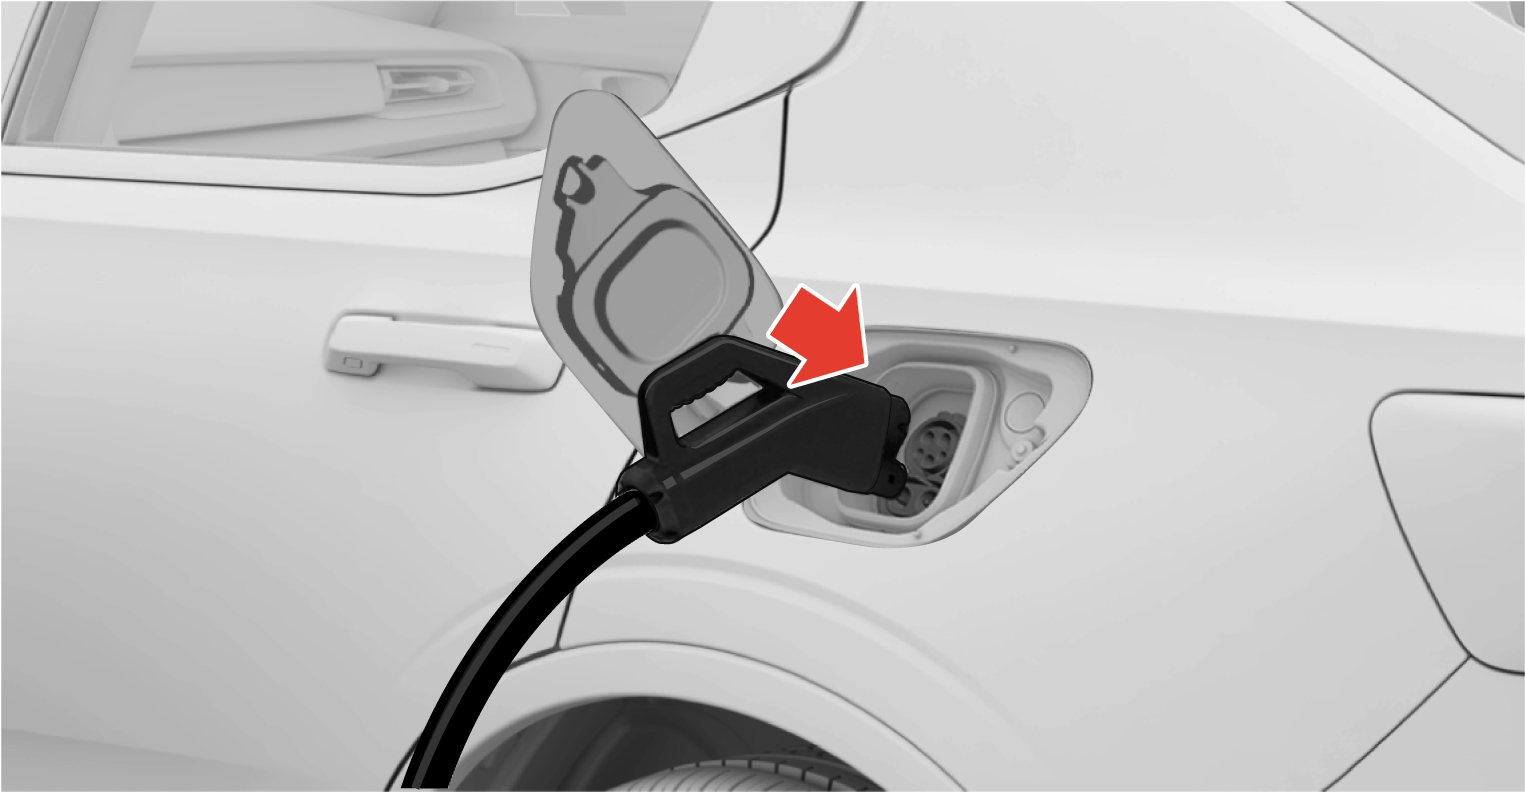
Grasp the charging cable with both hands and plug the charging cable all the way into the vehicle's charging socket. Hold the charging handle up for a few seconds. The charging cable automatically locks into the charging socket after a few seconds. Make sure the charging cable locks fully into place so that charging can start.
Follow the instructions in the charging station's user interface to authorize the charging. Charging will begin after the charging station completes an insulation test. This may take a minute or so.
When charging starts, the green LED light in the charging socket will begin to flash. The approximate remaining charging time or the charging status will be displayed in the instrument panel and the center display.
Note
Charging stations supporting CCS are usually clearly marked CCS or Combo.
Decal on the inside of the charging cover.
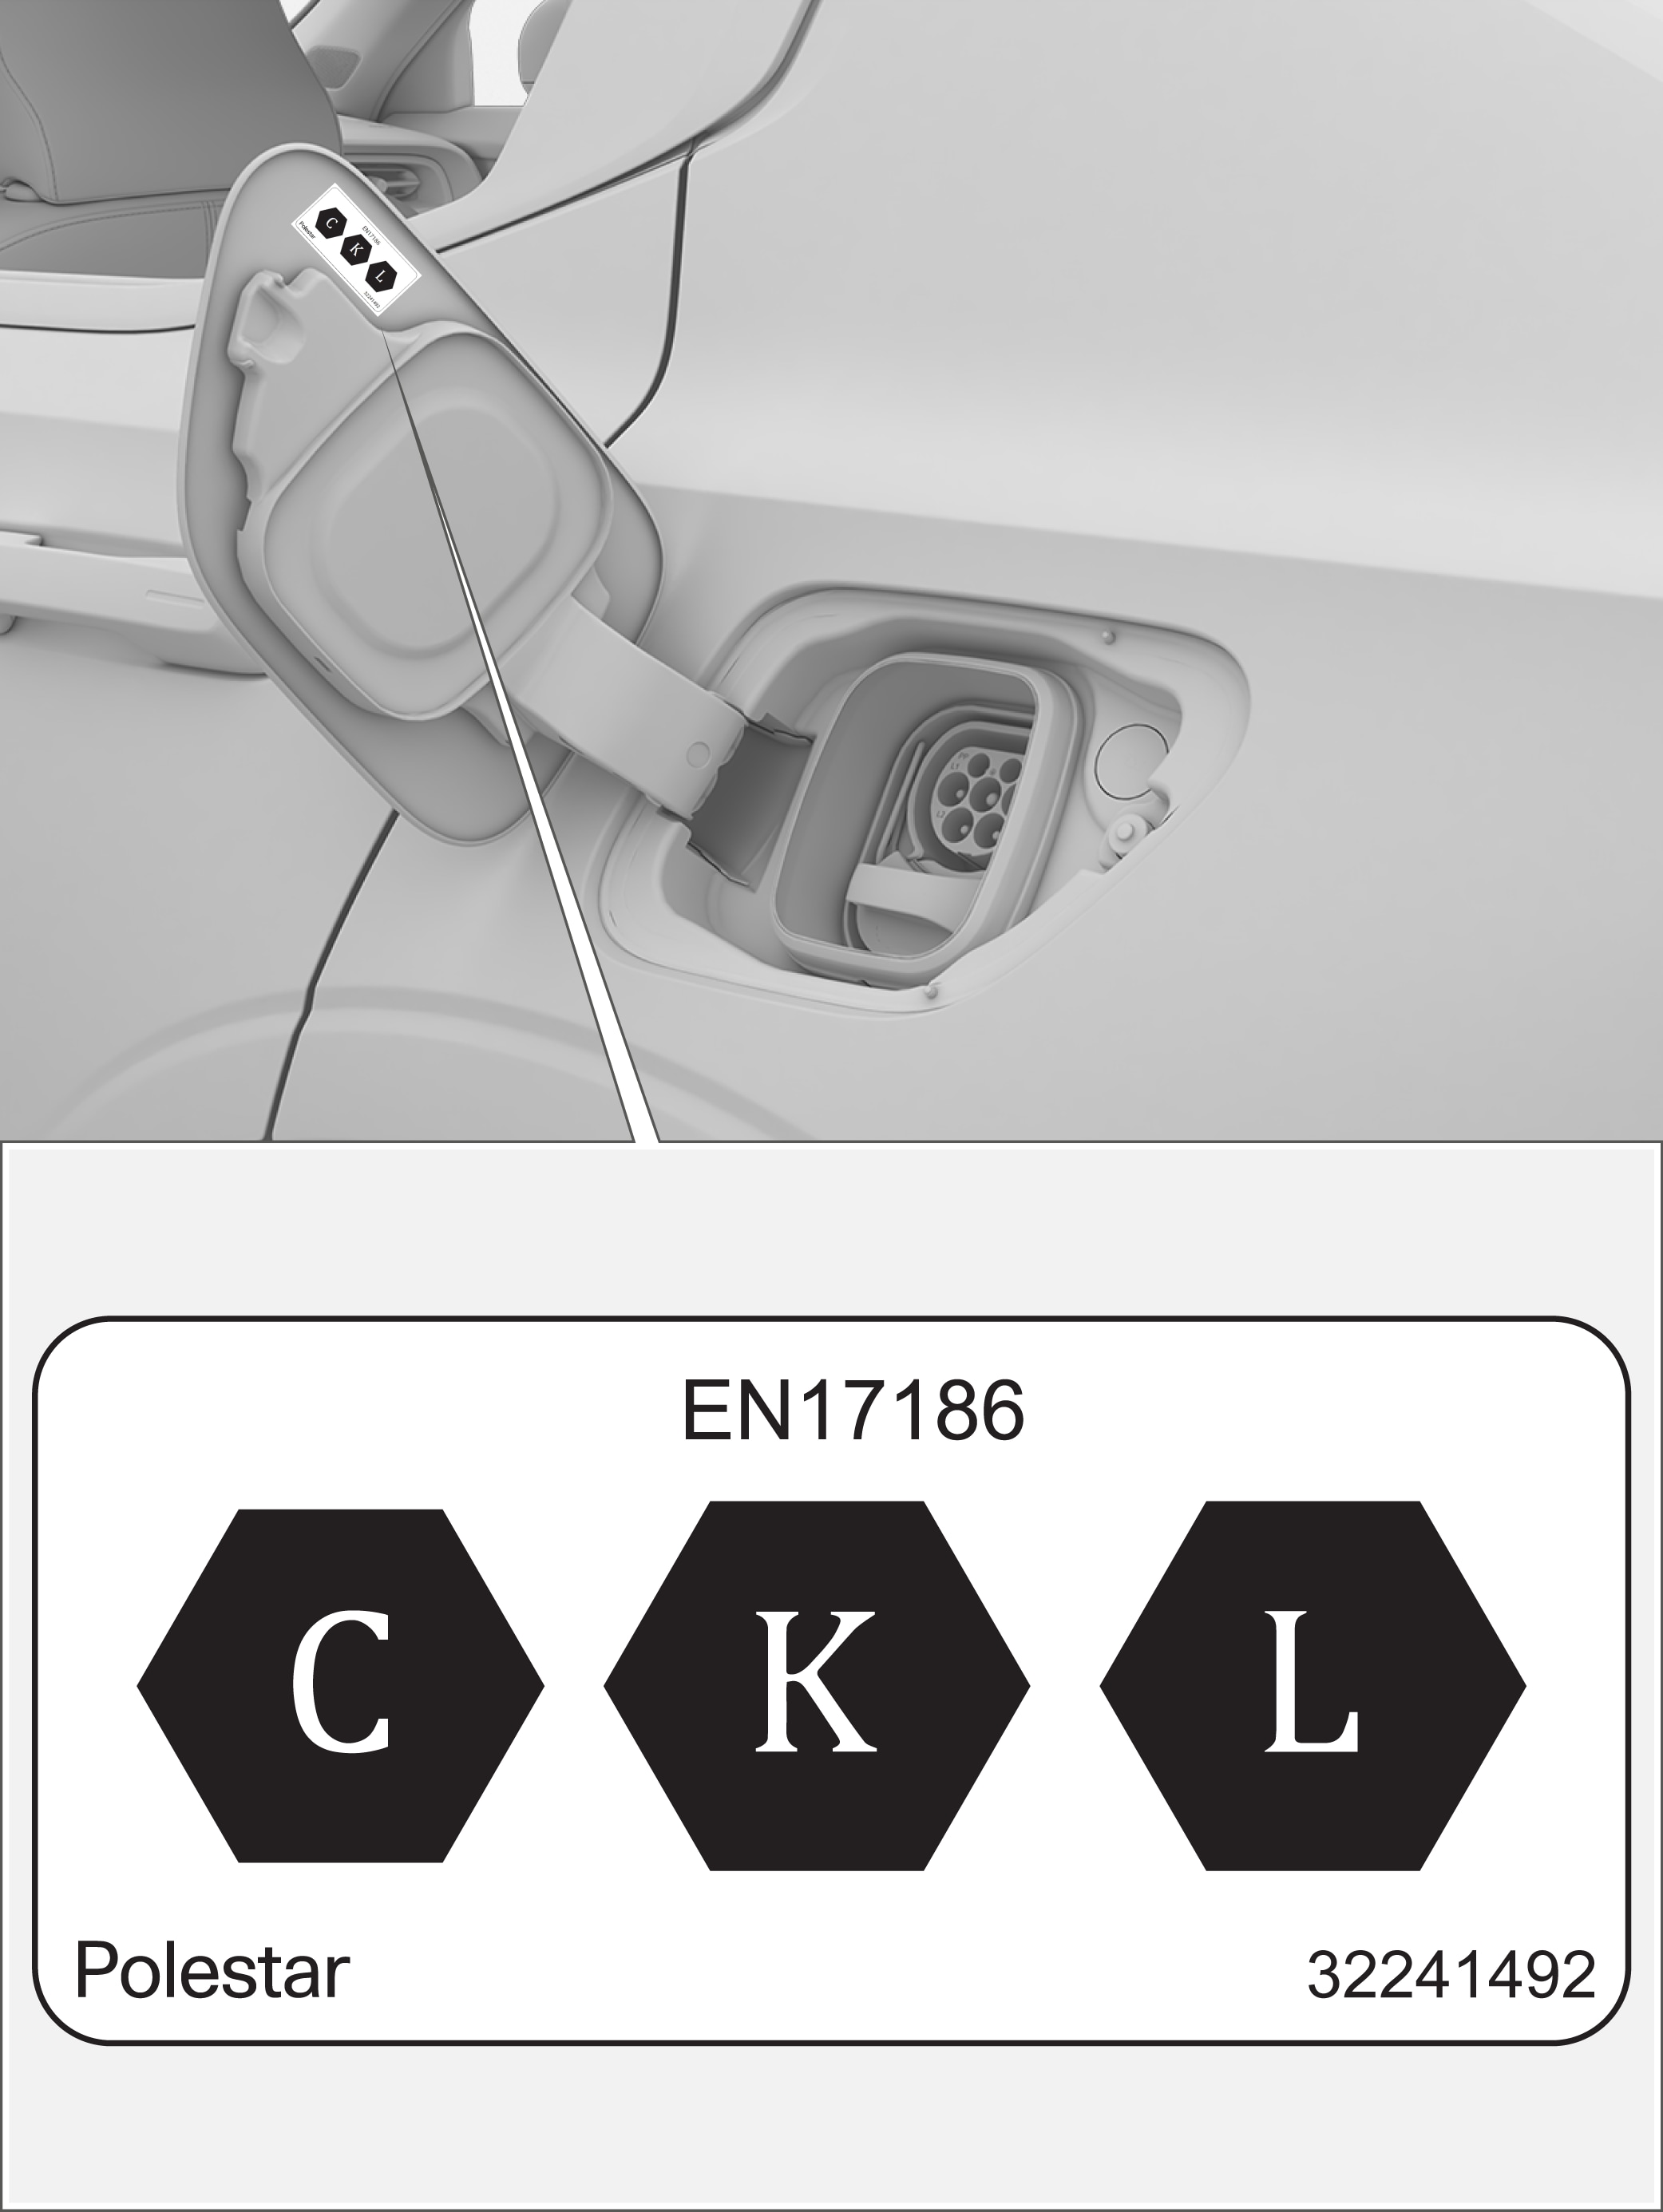
CEN standard EN 17186 identifiers are shown on the inside of the charger cover.
- C: Type 2 charging with alternating current (AC)
- K and L: charging with direct current (DC), including Combined Charging System (CCS)
Note
During charging, water from the air conditioning may condense and drip from underneath the vehicle. This is due to the cooling of the high-voltage batteries.
