


Installing mudflaps*
Read through all of the instructions before beginning installation. Make sure that you have all tools specified in the instructions available before beginning installation. In the event of any problems with the instructions or the accessory, please contact Polestar Customer Support.
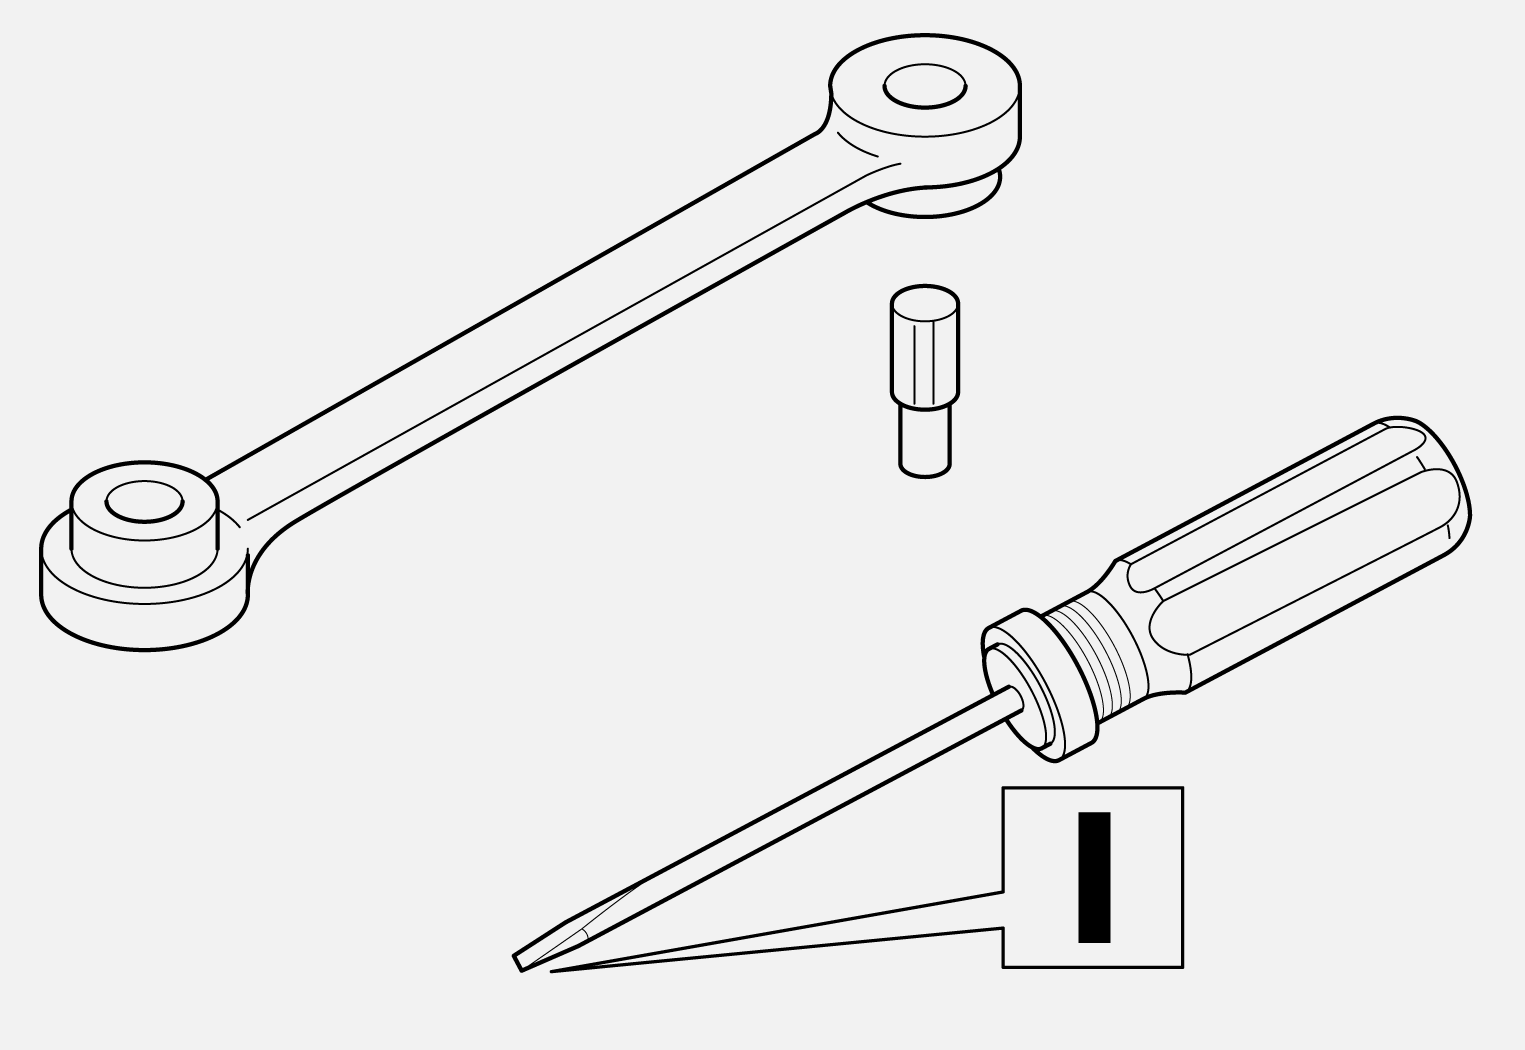
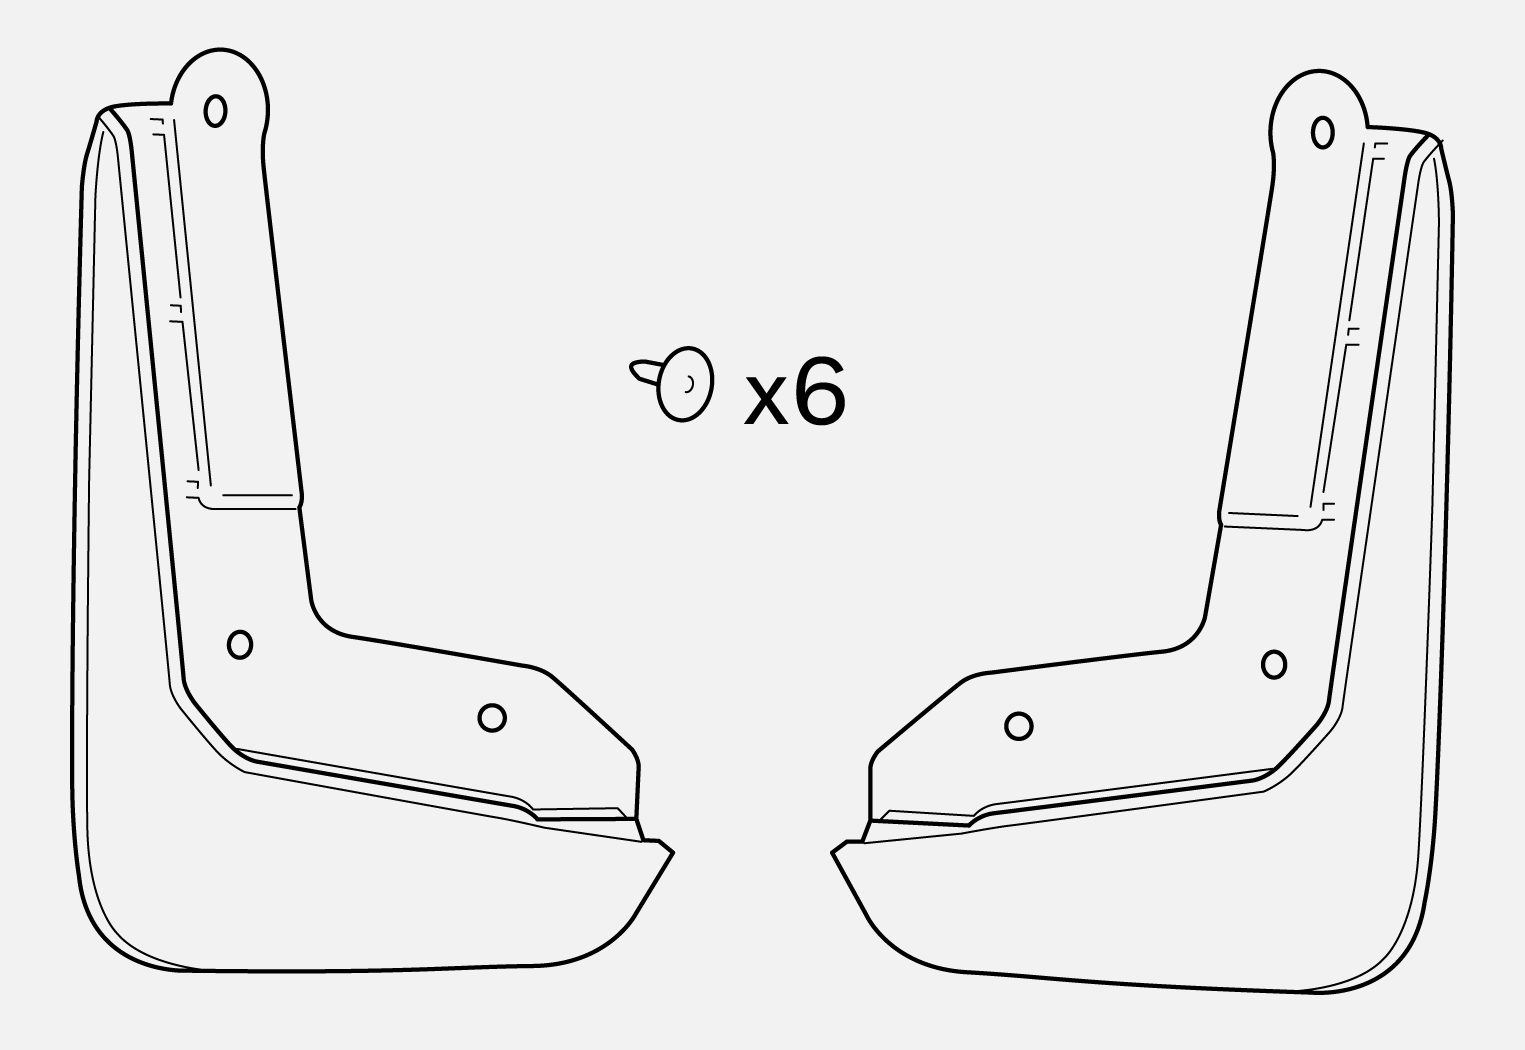
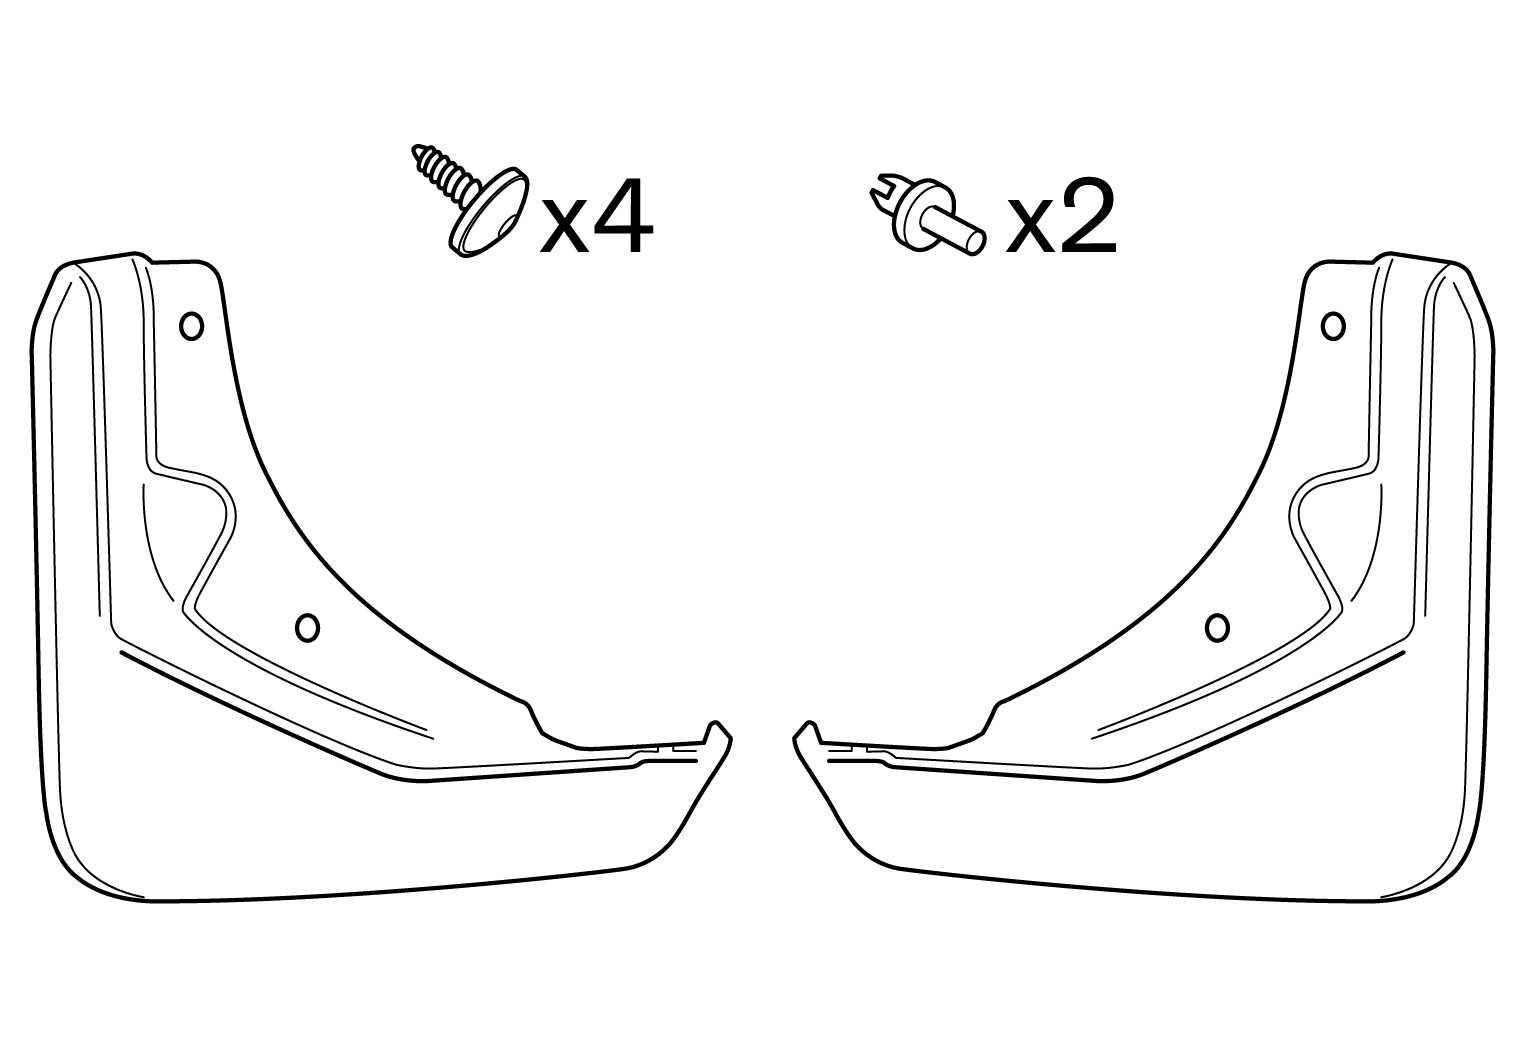
Equipment
Installing the front mudflaps
Use the following installation instructions for accessory kit 32341467.
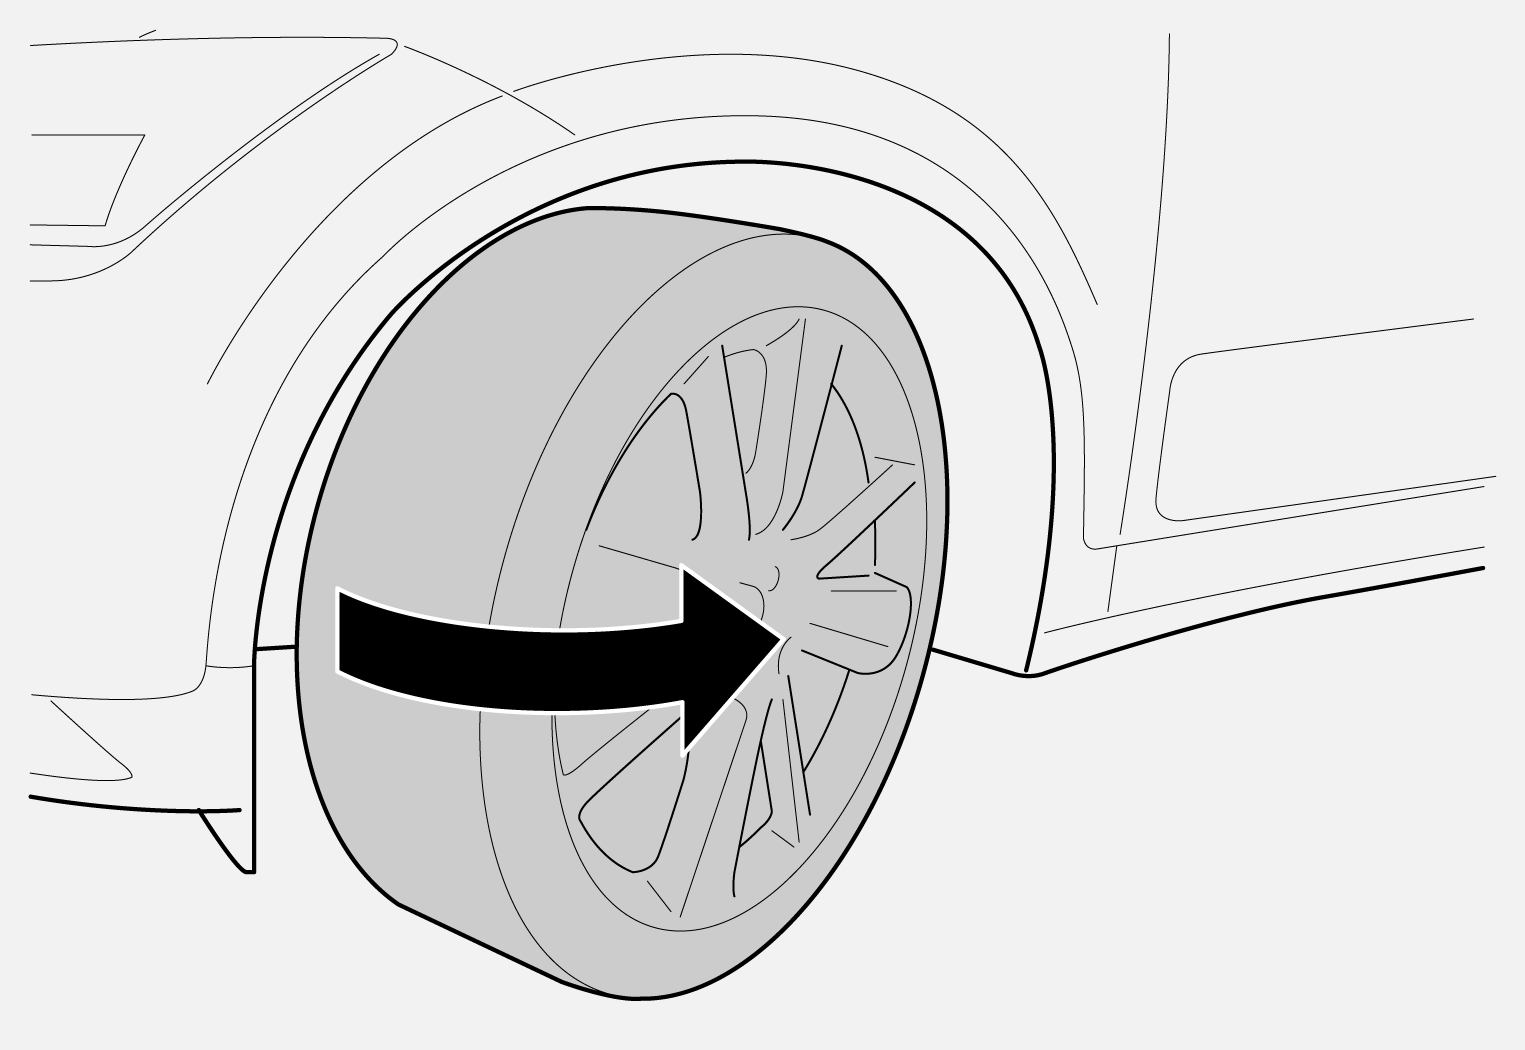
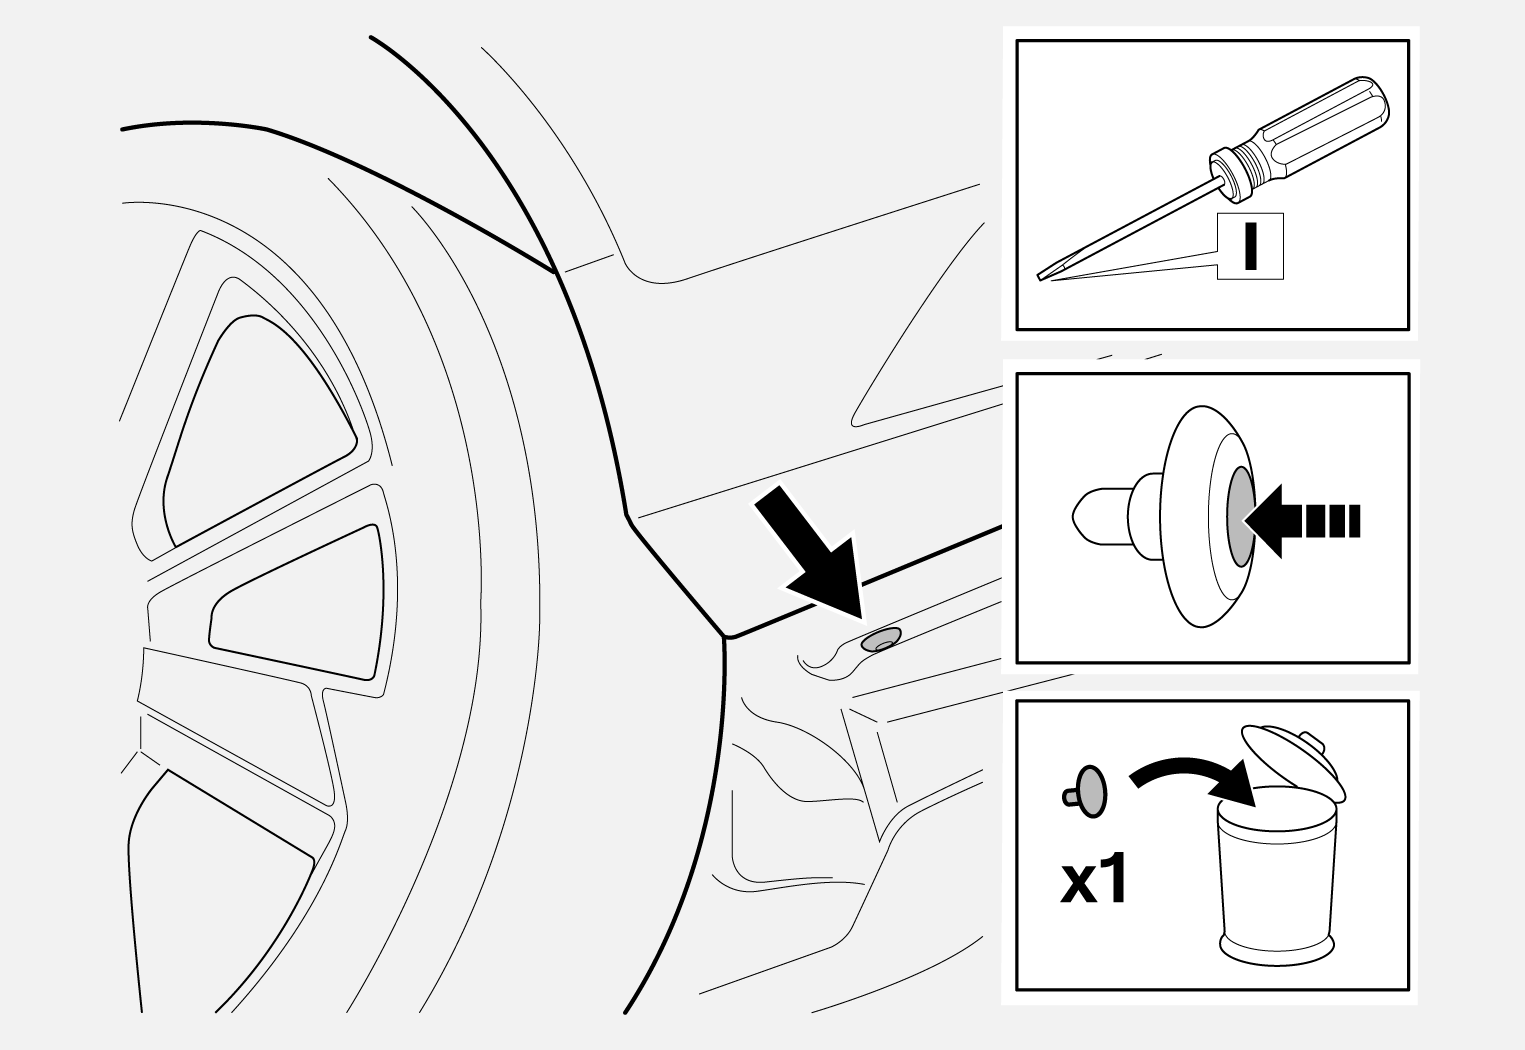
Turn the wheel outward.
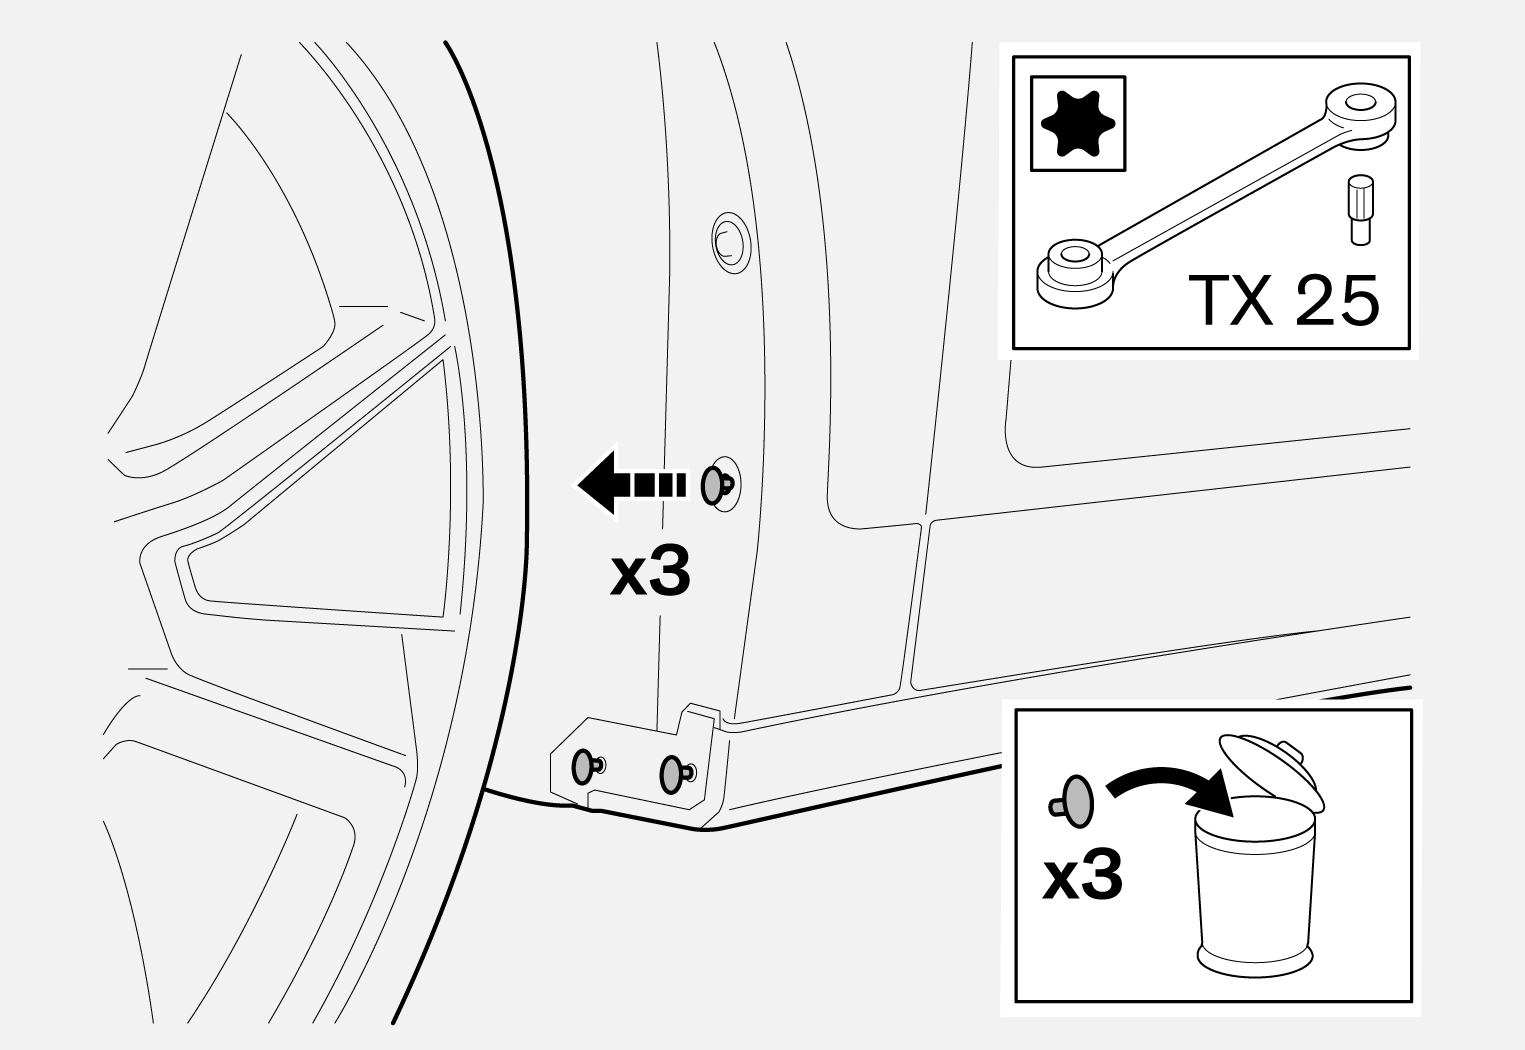
Remove the screws. Do not reuse the parts.
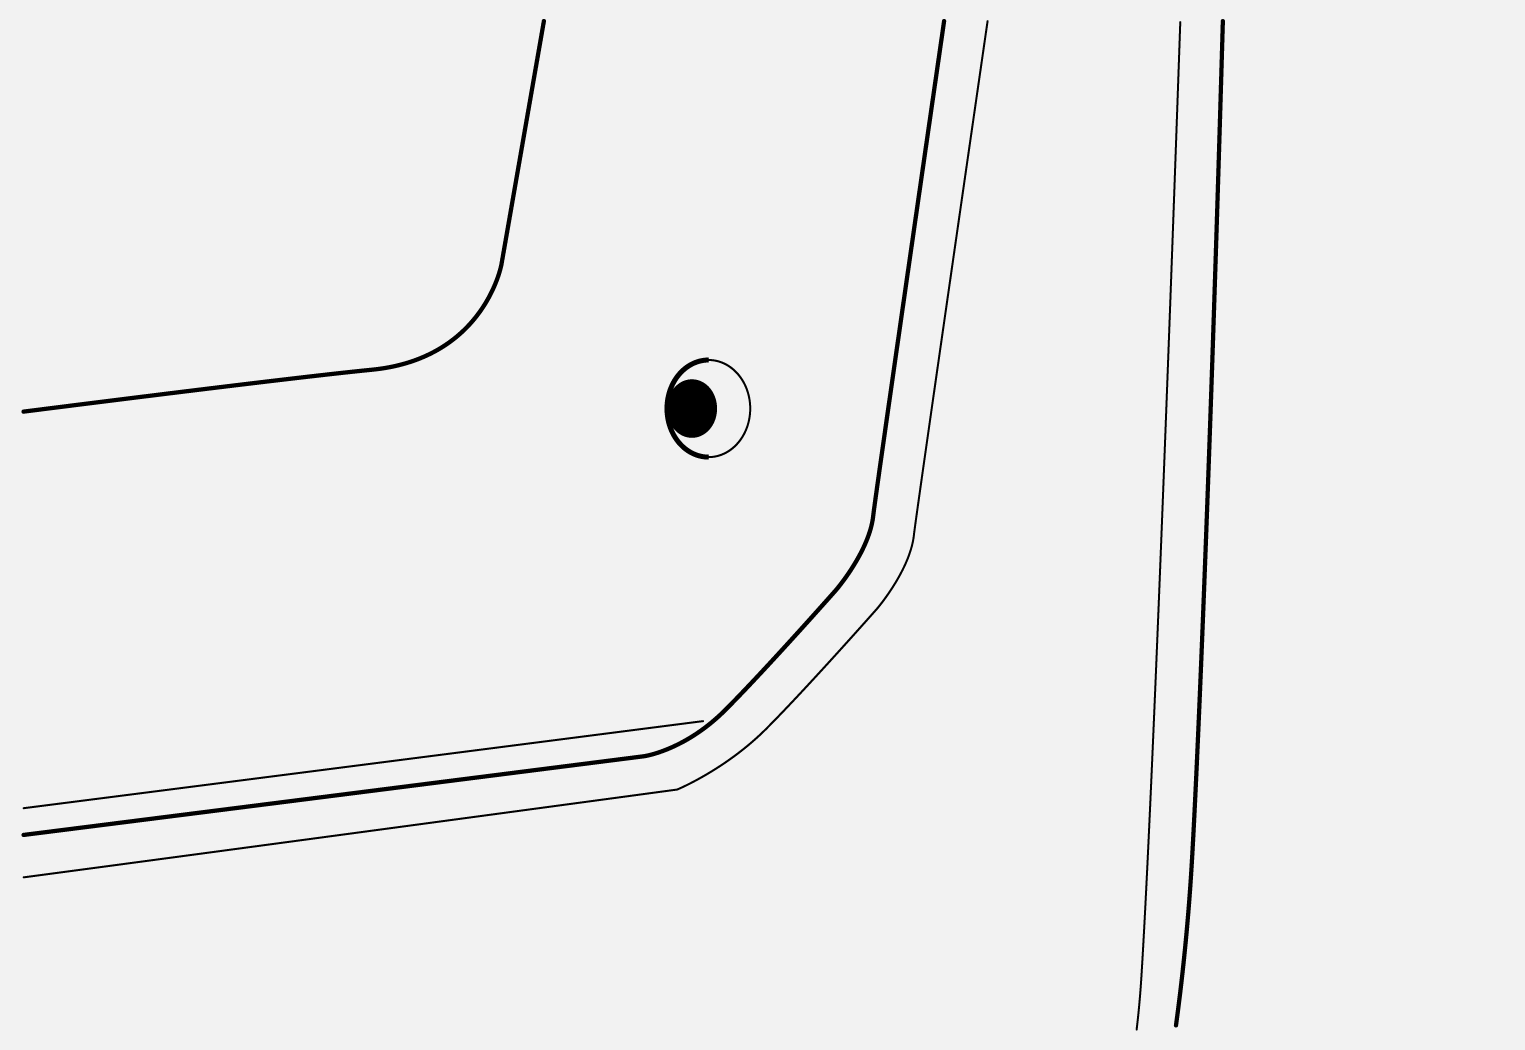
Clean the area around the screw holes.
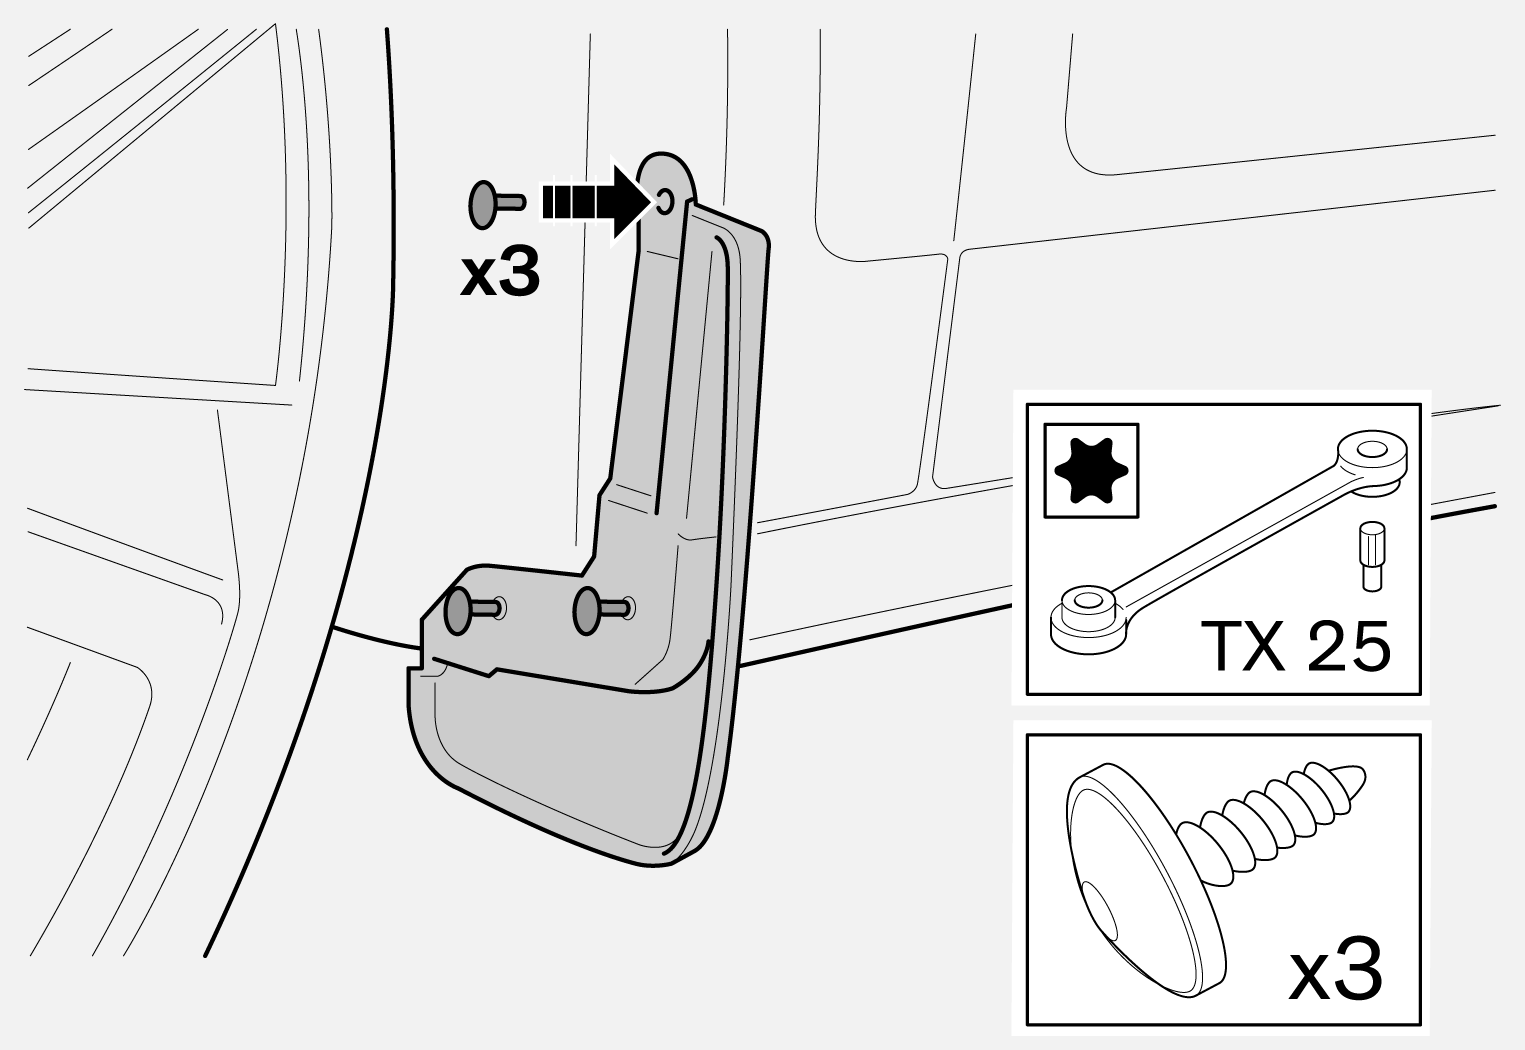
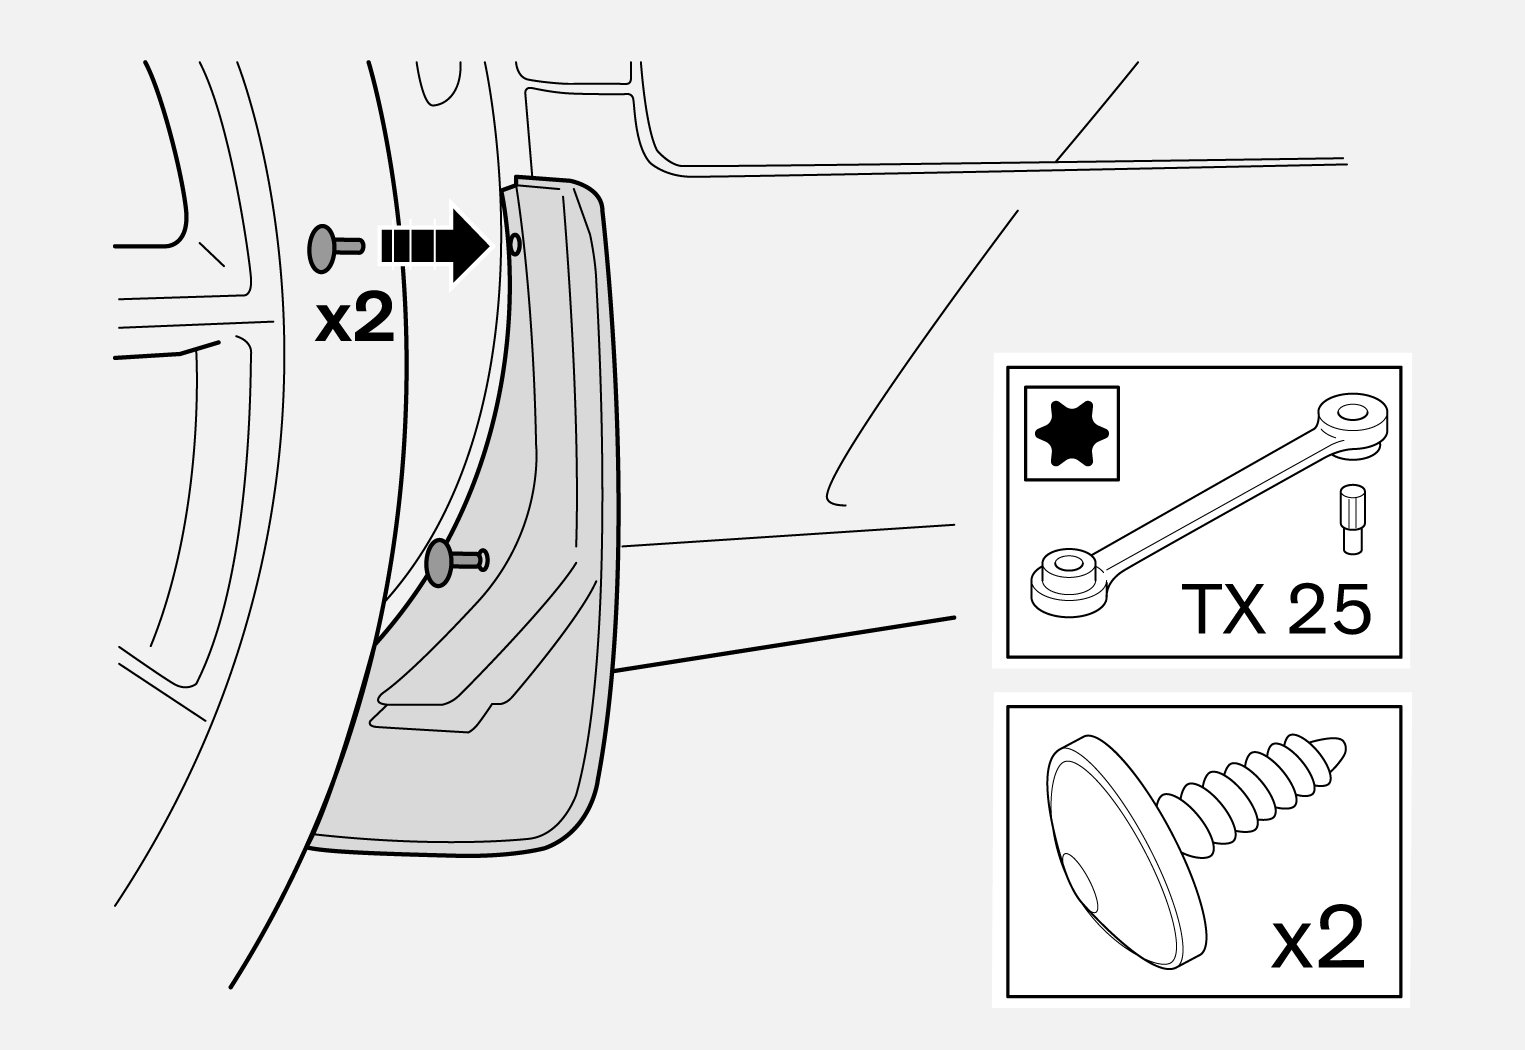
Install the mudflap using the screws provided.
Note
The screw holes might not be completely centered with the holes in the mudflaps. Press down the mudflap firmly and screw in the screws.
Repeat the same steps for the other side.
Installing rear mudflaps
Use the following installation instructions for accessory kit 32341471.
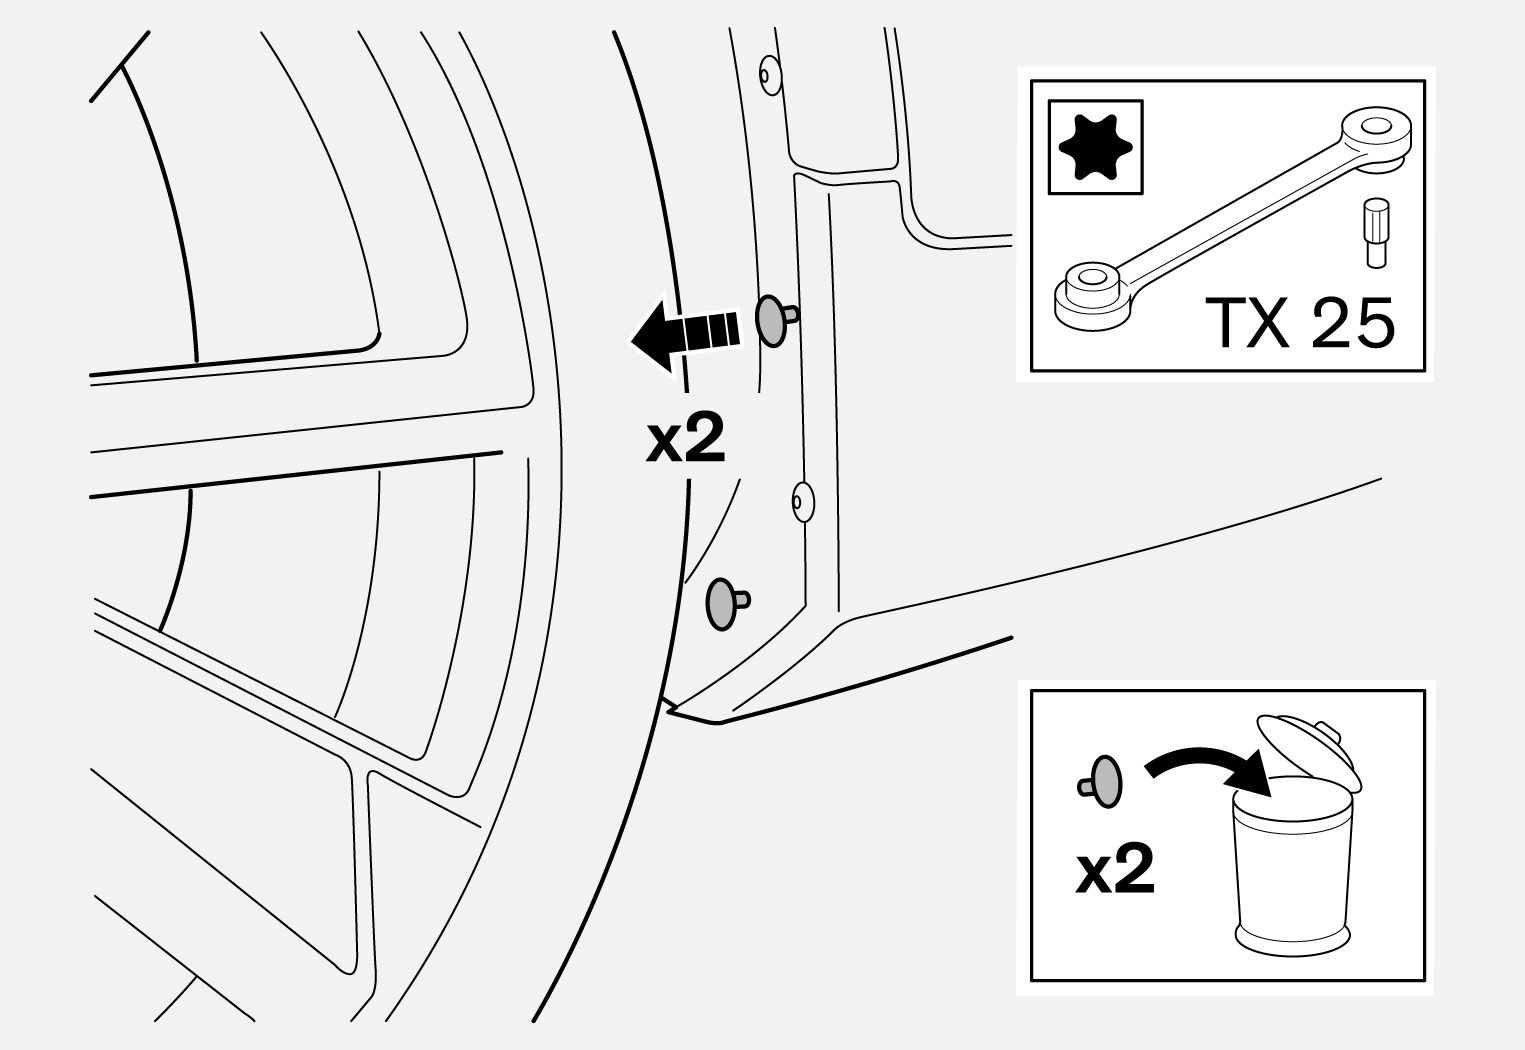
Remove the screws. Do not reuse the parts.
Remove the clip. Do not reuse the part.
Clean the area around the screw holes.
Install the mudflap using the screws provided.
Note
The screw holes might not be completely centered with the holes in the mudflaps. Press down the mudflap firmly and screw in the screws.
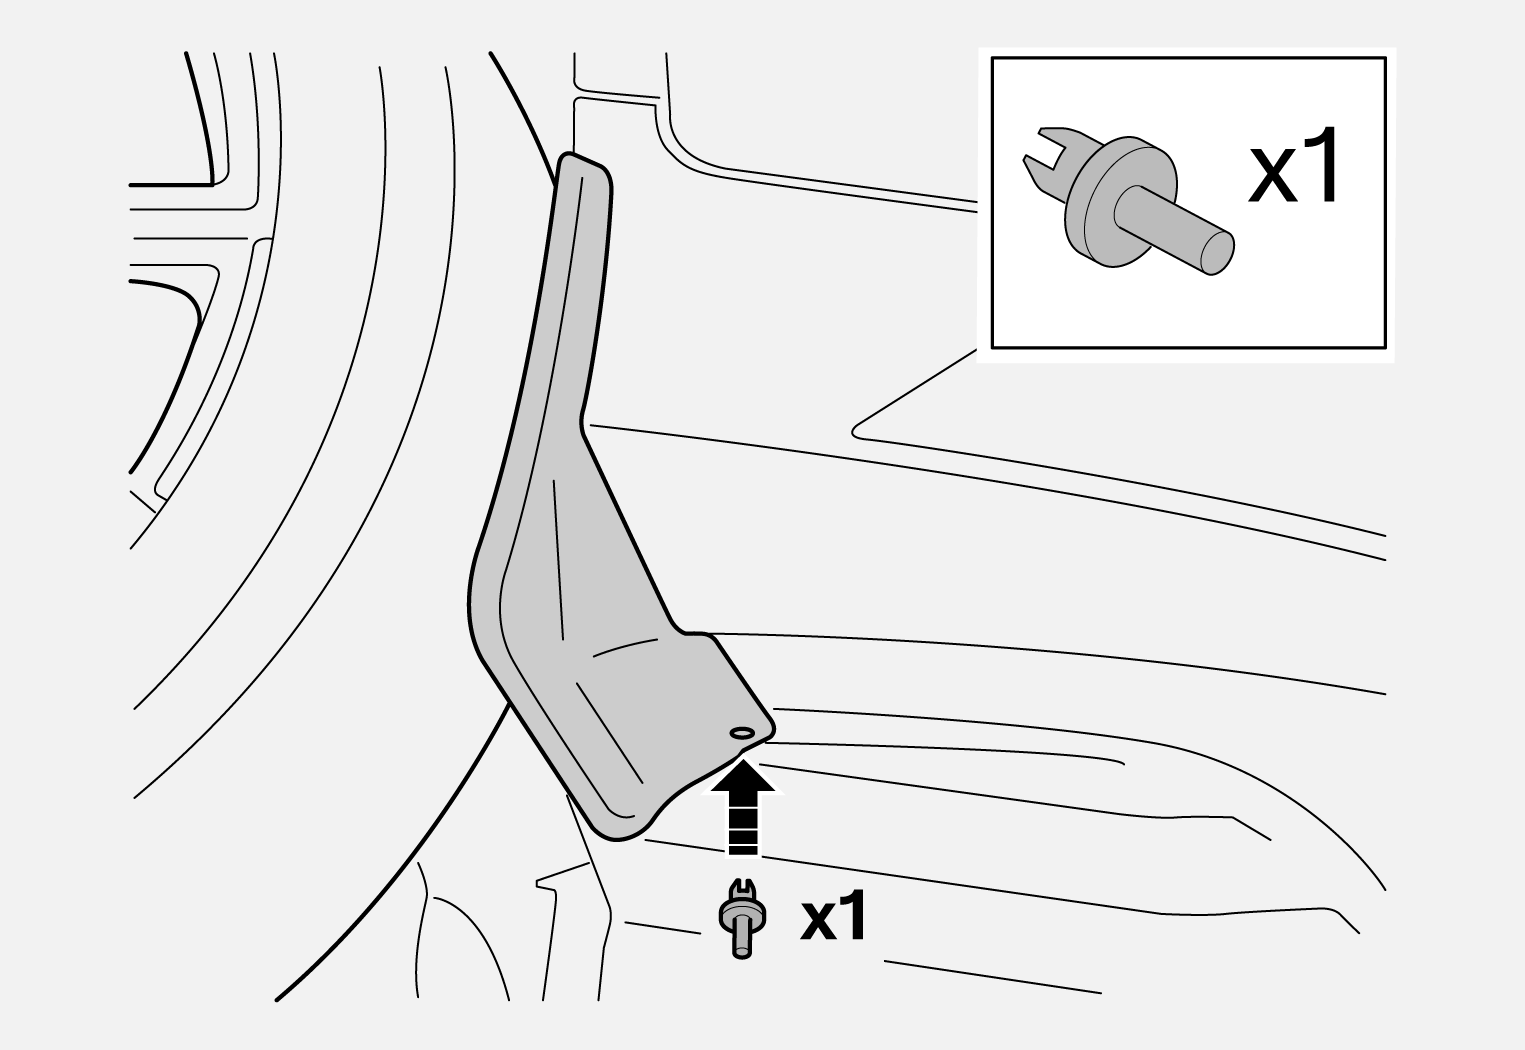
Install the provided clip.
Repeat the same steps for the other side.